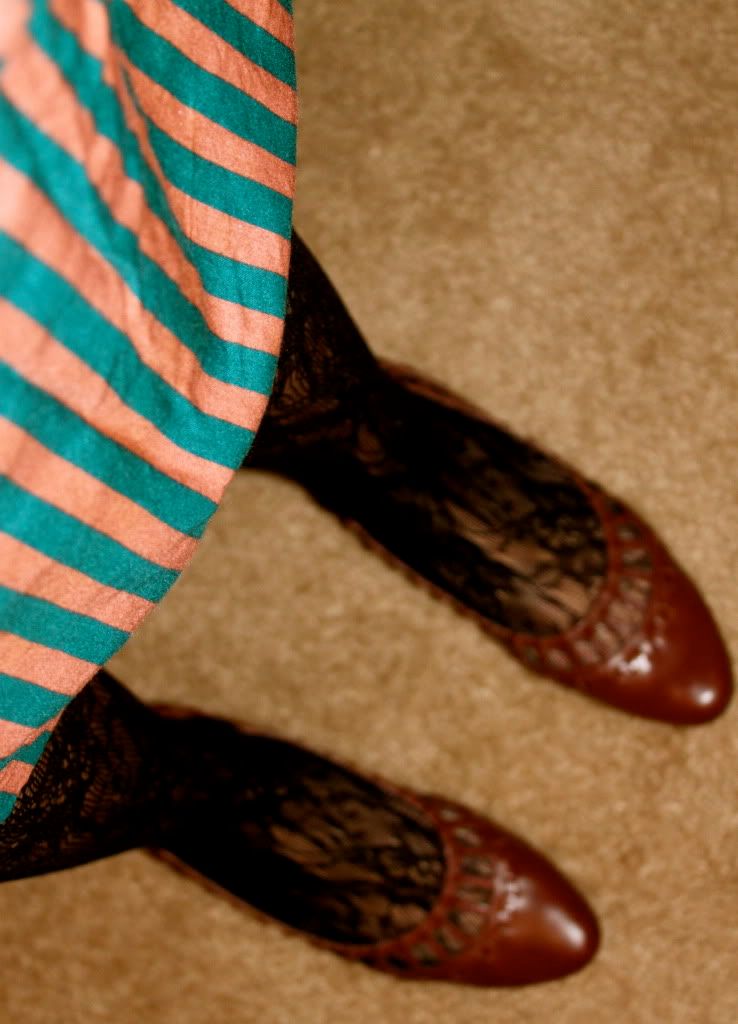
i love a vintage striped dress i found at the thrift store but it was too long. i am getting it hemmed this week and pairing it with floral black tights and brown flats. i can't wait to get it back.

inspired by a shirt i saw at forever 21, i decided to cut my own plain, boring t-shirts and create something new. the girls at work wanted to know how i did it, so i thought you may like to do it too!all you need is a t-shirt, scissors, and marker
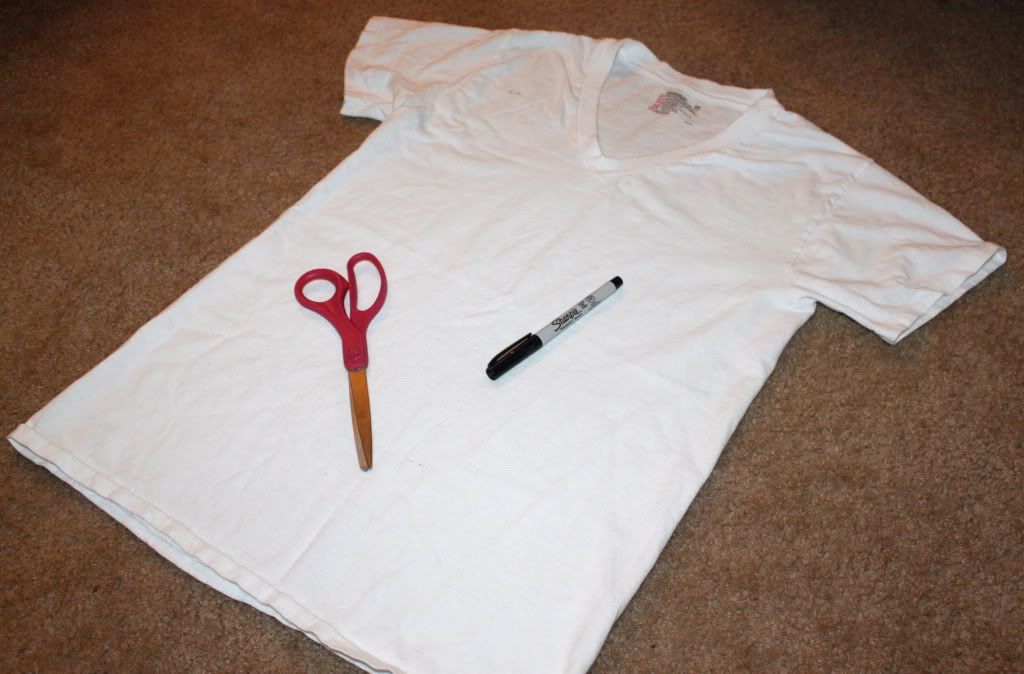
**the t-shirt size depends on how loose you want the shirt to be around your waist area. to demonstrate, i am using a small white v-neck t-shirt. you can use patterned shirts, graphic tees, solid tees-the options are endless.
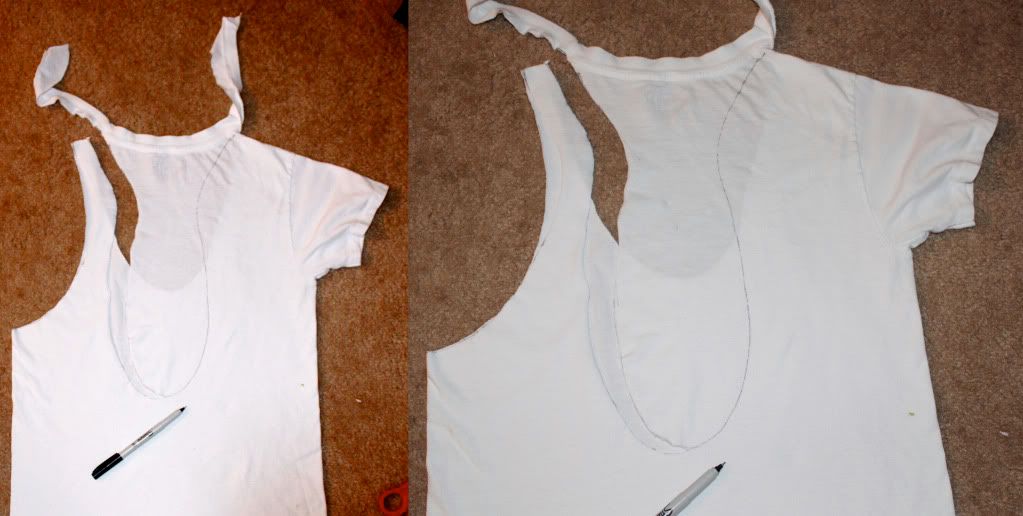
begin by marking the middle of the shirt with your marker. draw a curved line starting from the inner most point outside the neck seam line connected to the middle point you previously marked to make the neckline of your shirt.
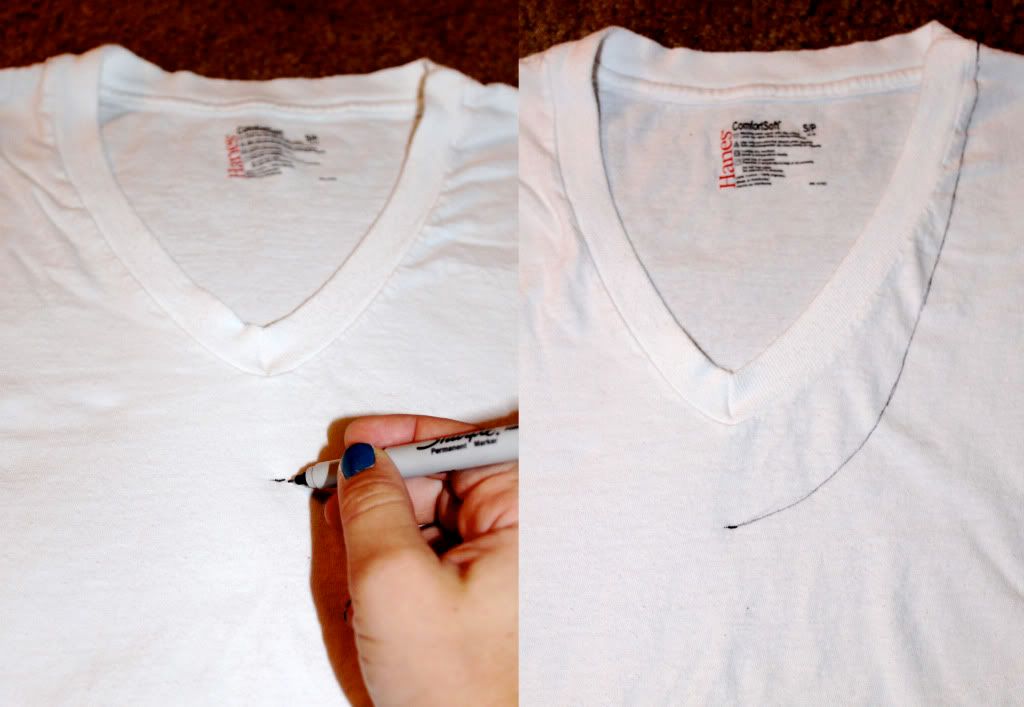
**decide how low you want your neckline to be by moving the middle point down for a lower cut shirt and up for a higher cut shirt.
next, mark two dots: one 1.5-3 inches across from the shoulder mark & one below the armpit. connect the two dots with a curved line.
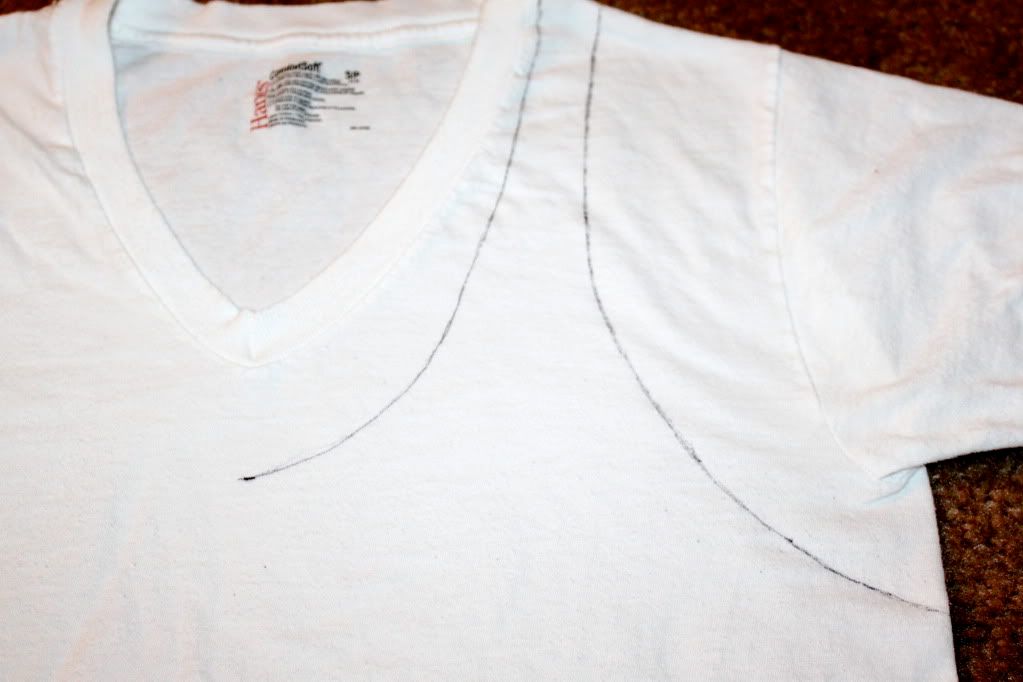
**depending on how low you want the shirt to go on the sides, depends on where you mark the other dot.
begin at the strap you've created from the front and continue the lines. one line should connect to the line under the armpit. the other line should make a shape like the picture below.
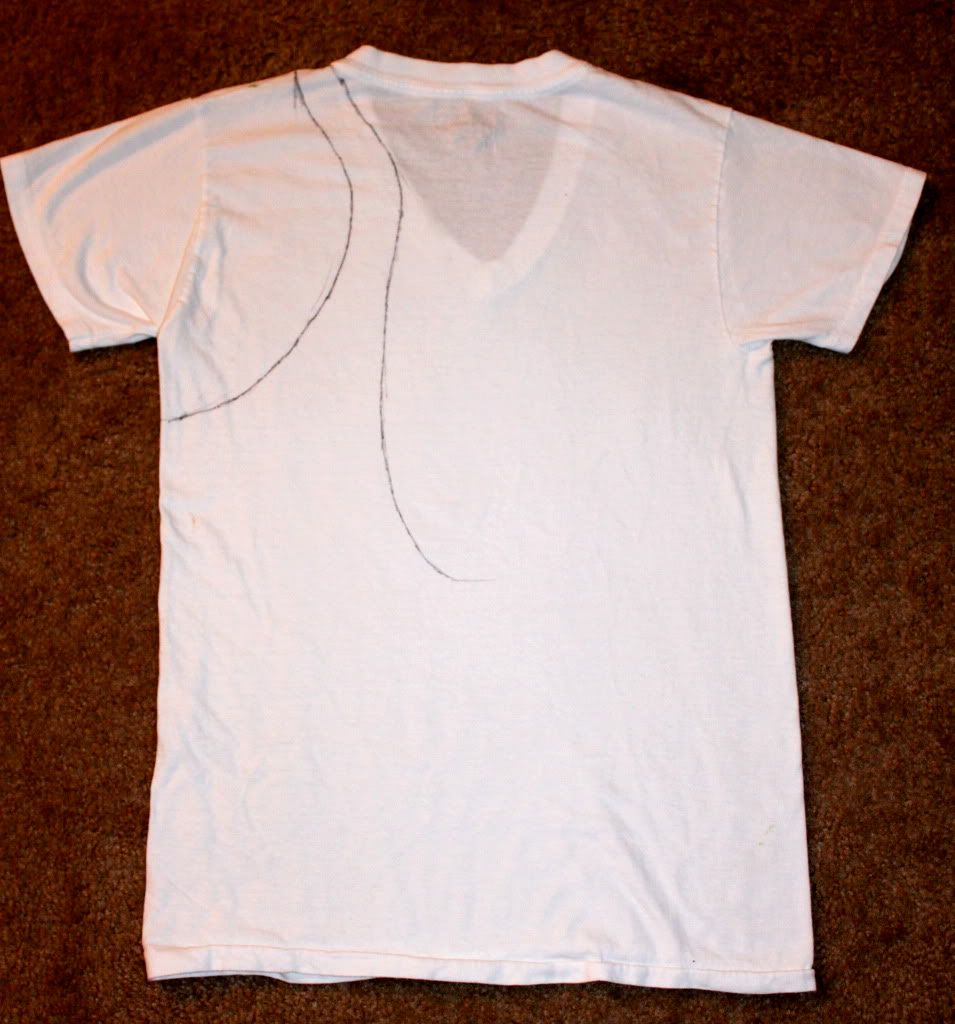
**to make it symmetrical, only draw half way down the back (like the picture).
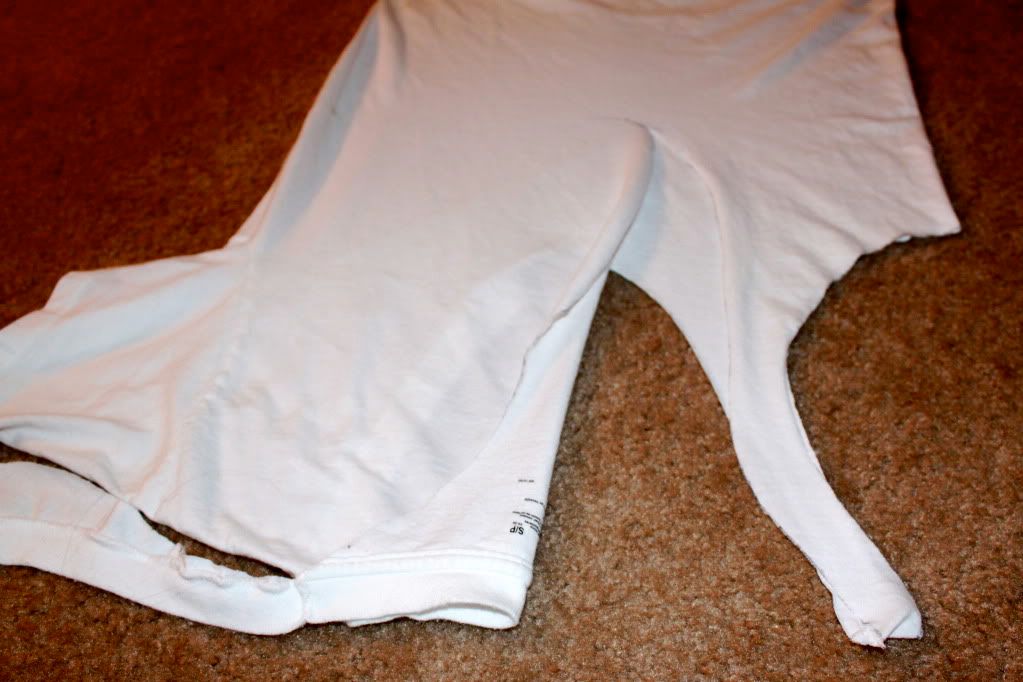
starting at the middle point, cut along the line (all the way to the back to the back middle point). let the fabric hang once it is cut.
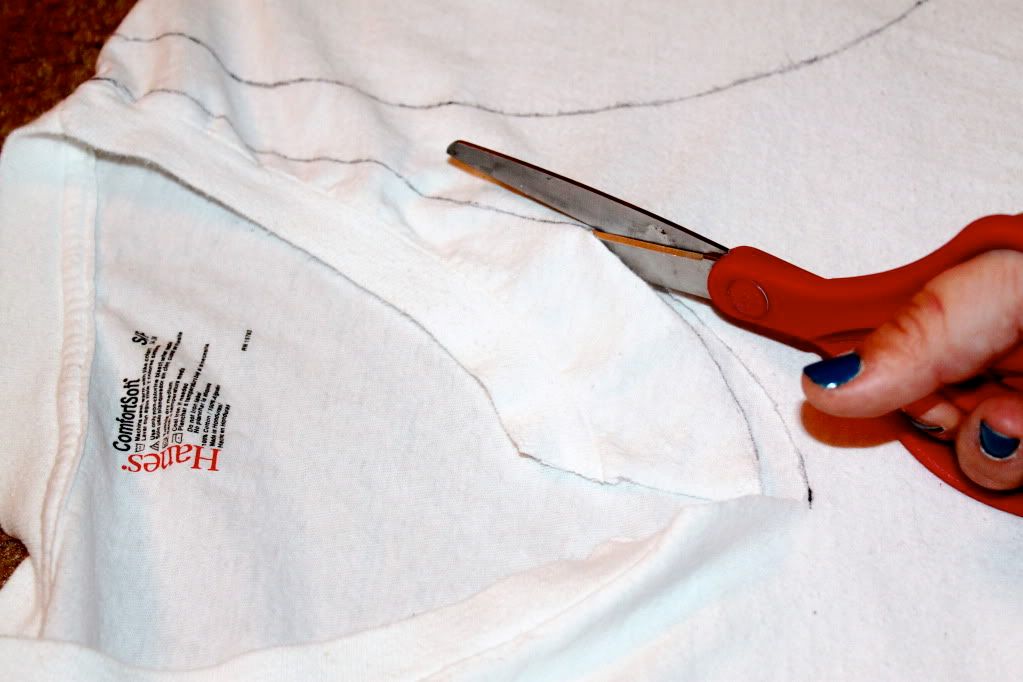
starting at the top seam of the shirt, cut out the sleeve. it is important to leave the sleeve in one piece because we will use it later!
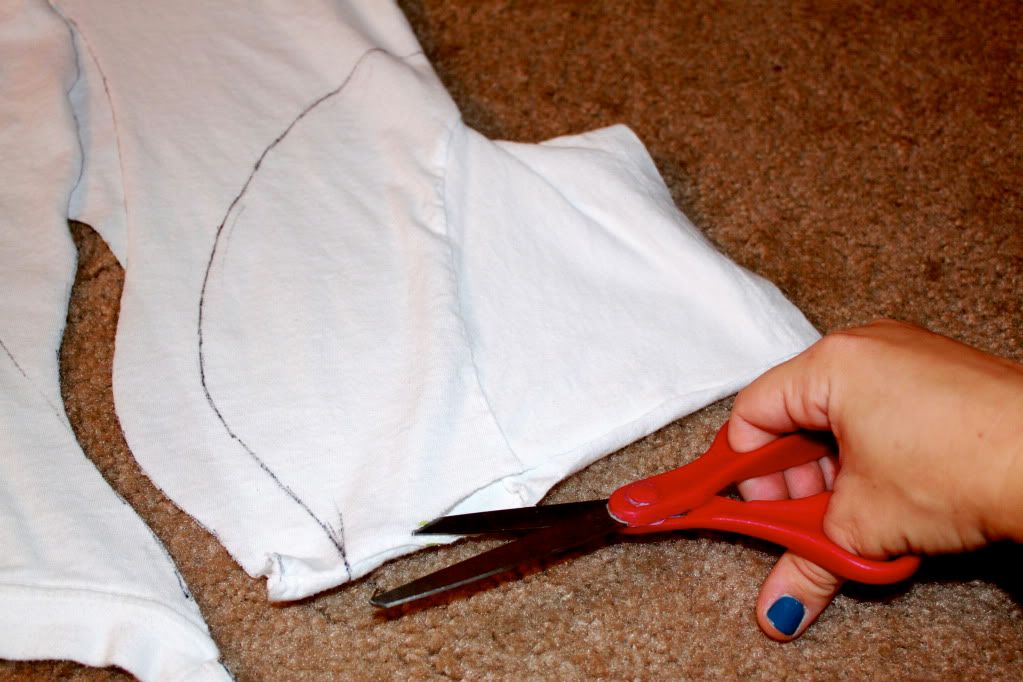
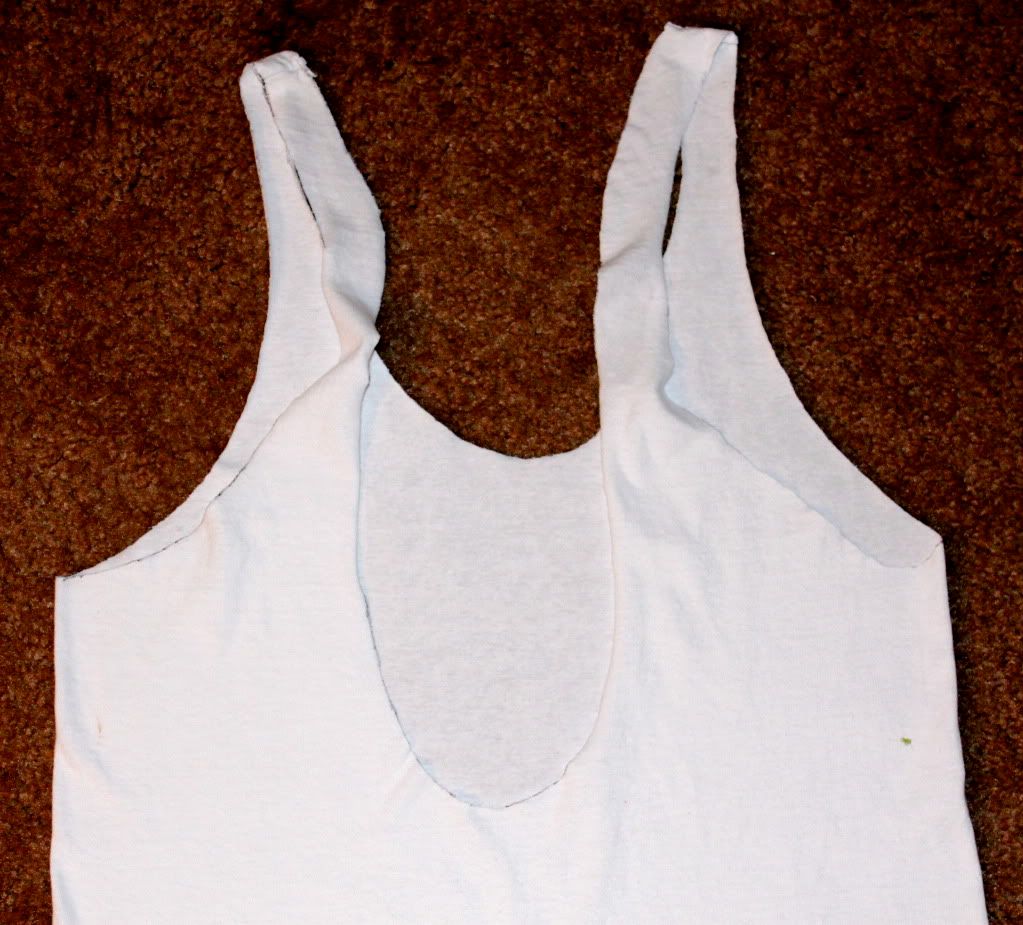
this is what you should have now:
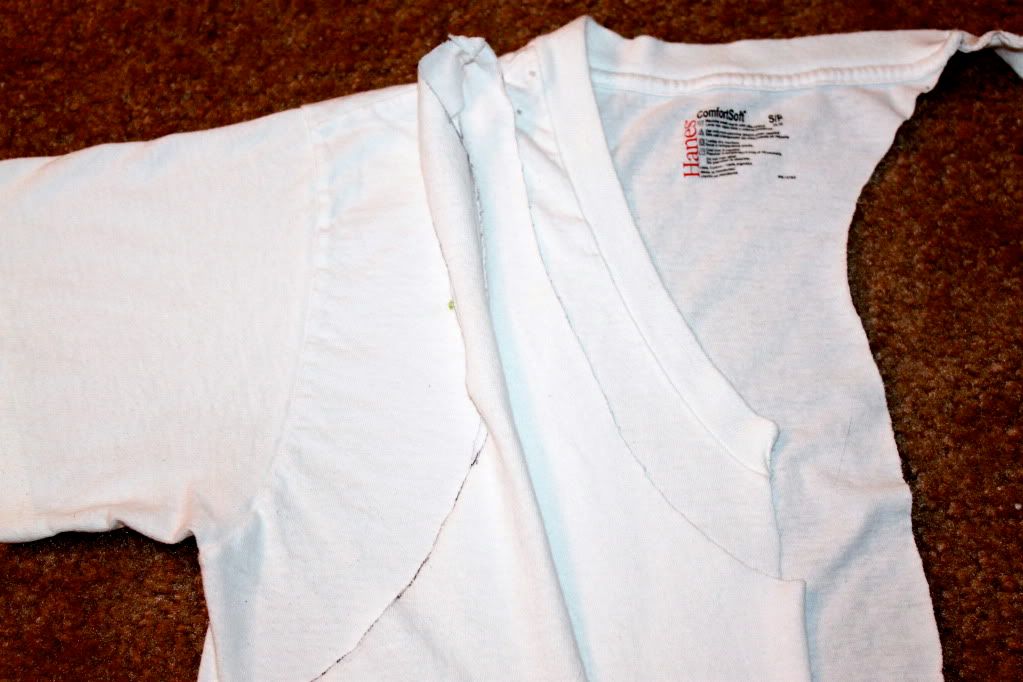
now, we need to trace the same lines on the opposite side of the shirt so that it will be asymmetrical. get the cut off sleeve and turn it inside out. match the bottom seam to the other seam (like the picture). now line up the seams so match. draw a line along the sleeve to mark where you will need to cut (this will need to be done on the front and back of the shirt).

**some people can free-hand draw this to match what we have previously cut. others, will need to follow these steps to get the same look as the other side.
fold over the front of the shirt that has already been cut. match the shoulder strap to the other side's shoulder strap.
trace the line to mark where you will need to cut to finish the neckline.
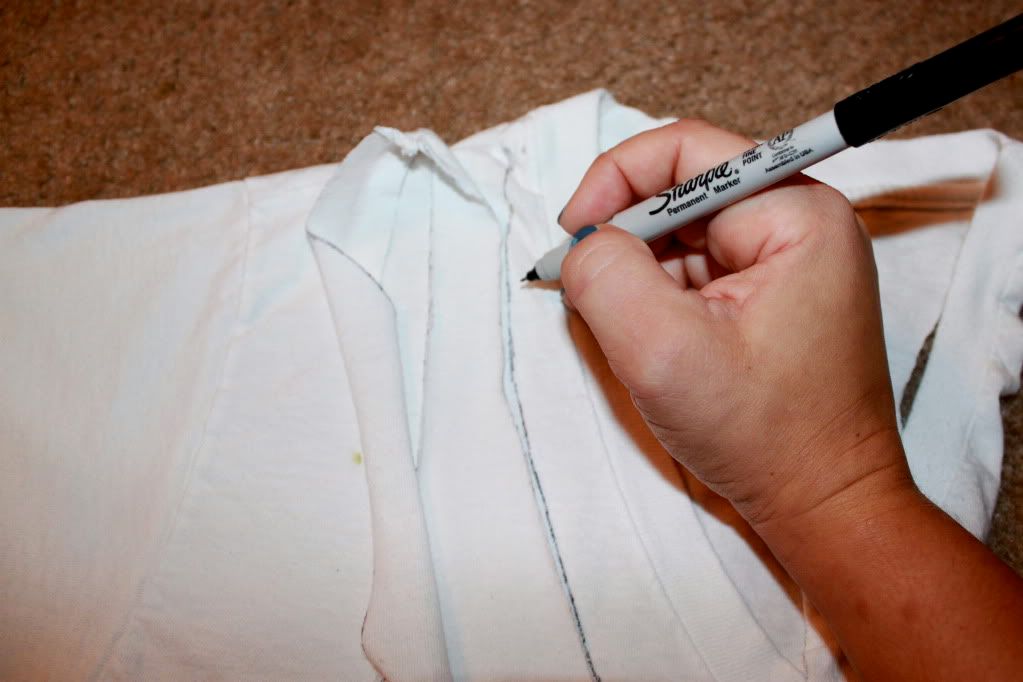
turn the shirt so the back is facing up. fold over the part you have already cut.
trace the line on the shirt to create your outline to know where to cut.
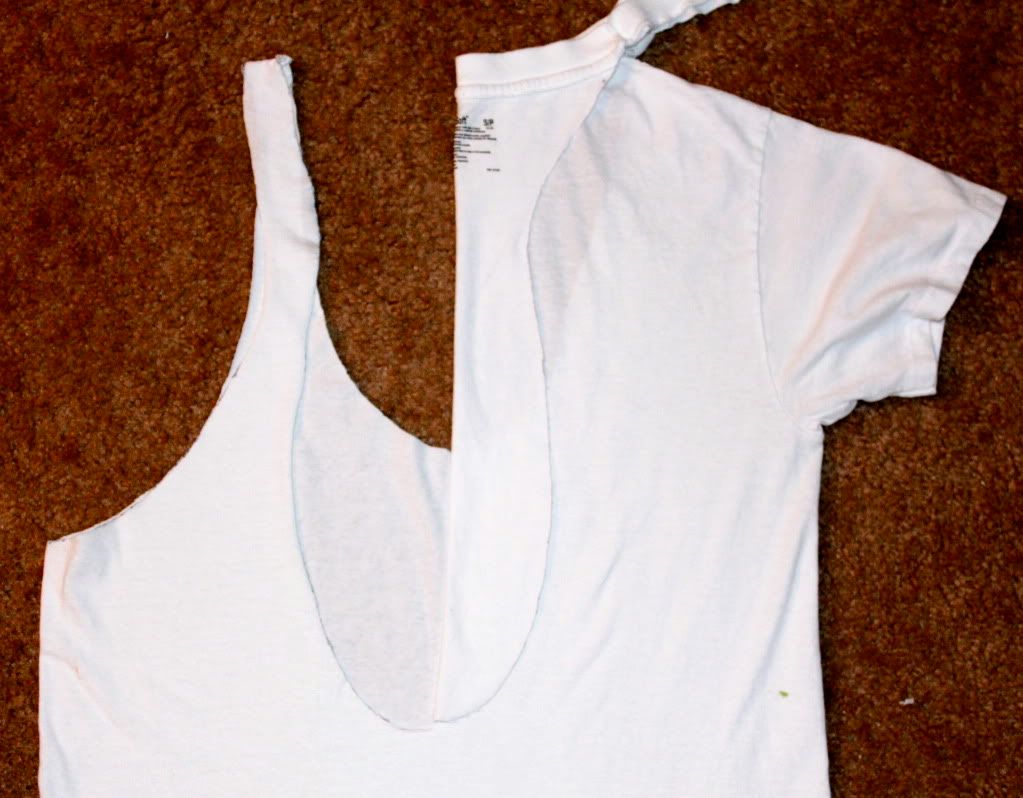
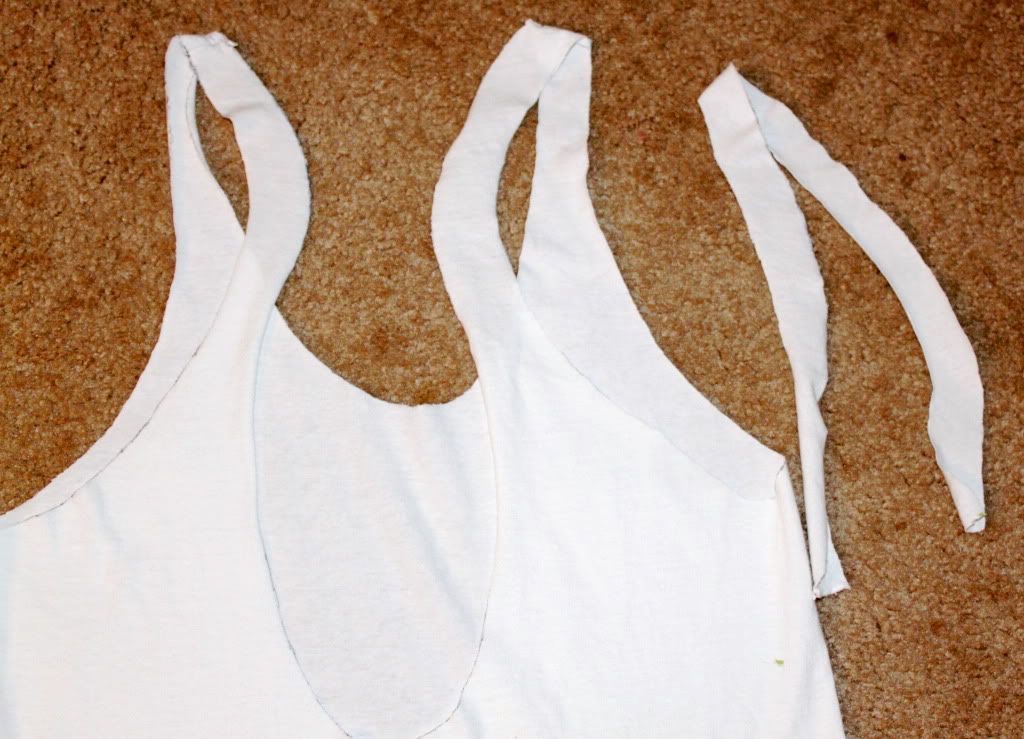
finish cutting on the lines and you will have your shirt looking similar to below.
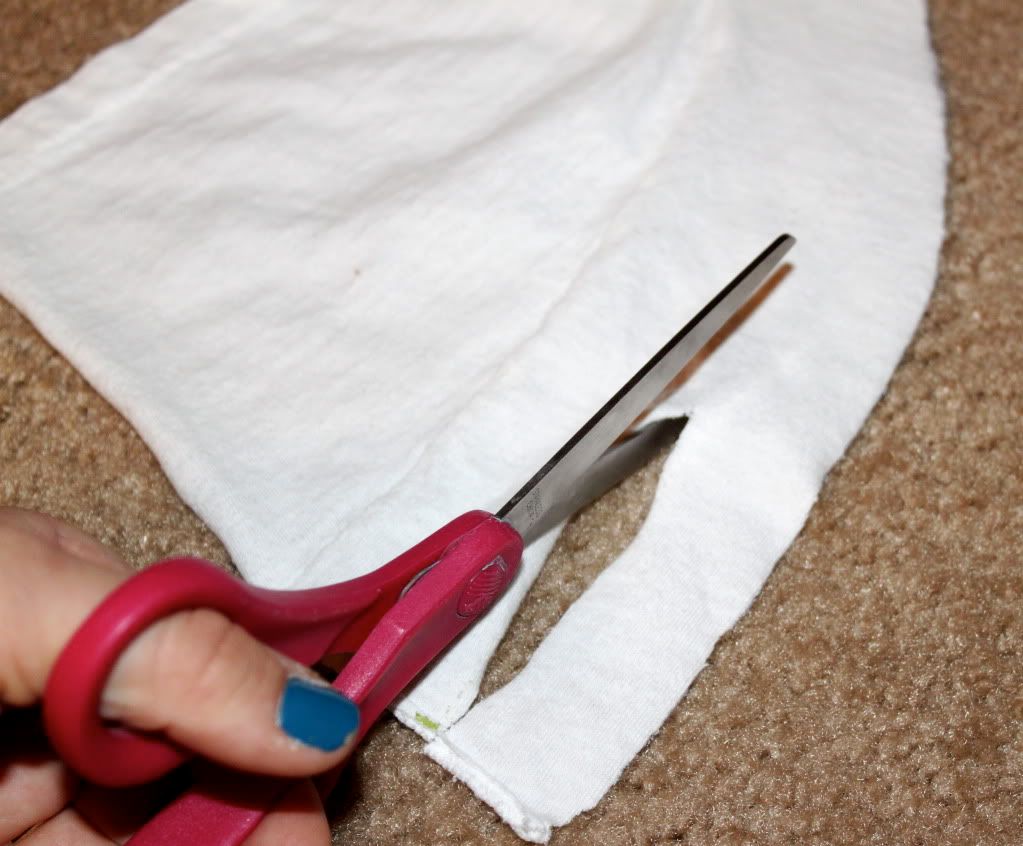
we will need one of the sleeves we have cut off. cut a strip about an inch wide along the U-shaped edge.
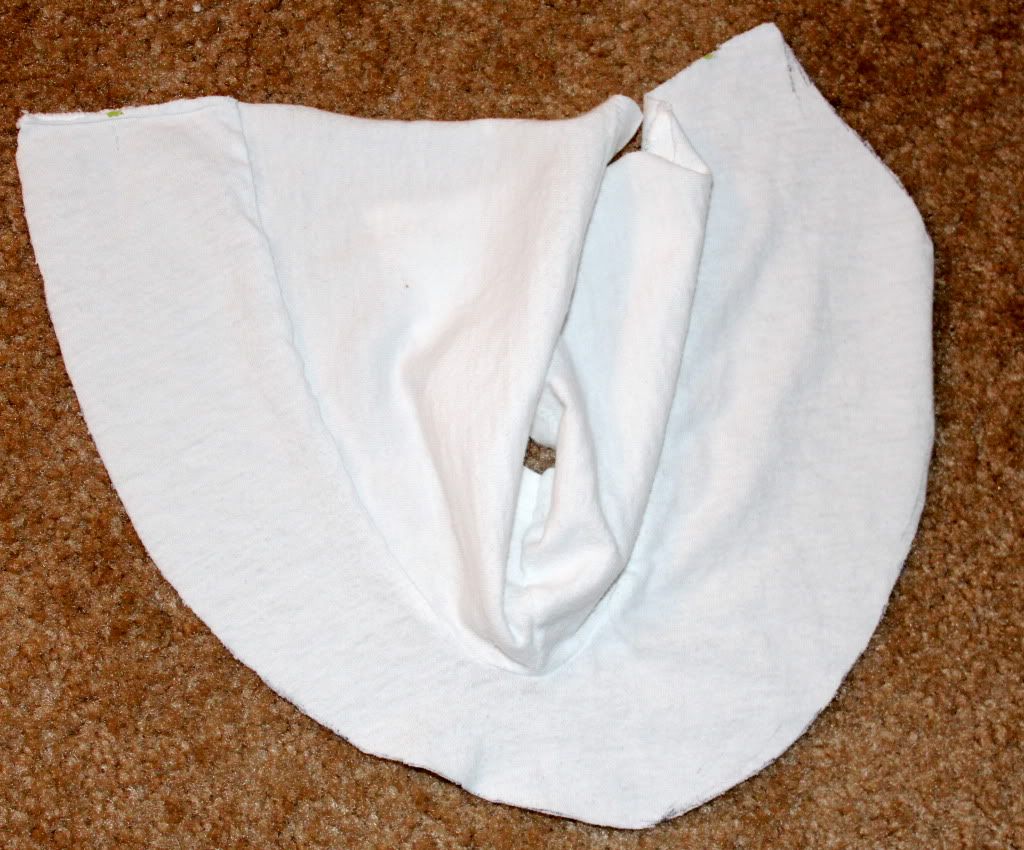
now we have a shirt and a long strip of fabric.
match the seams on the straps up and tie the string in a knot in the middle about 5 inches down.
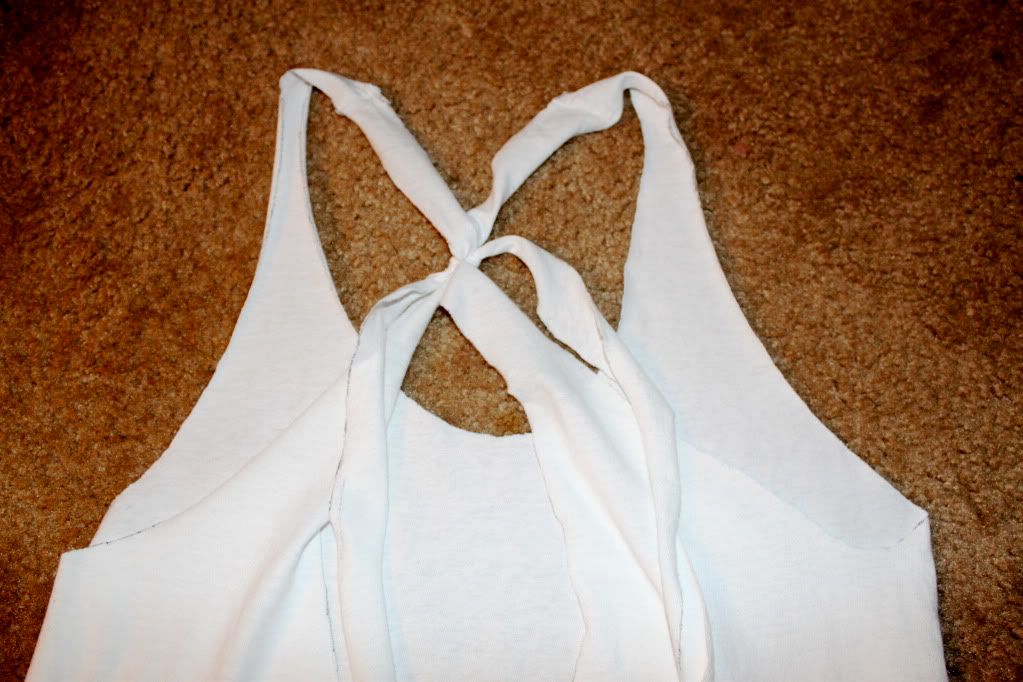
you can tie the strings in different ways. get creative! i have shown you some different ways below.
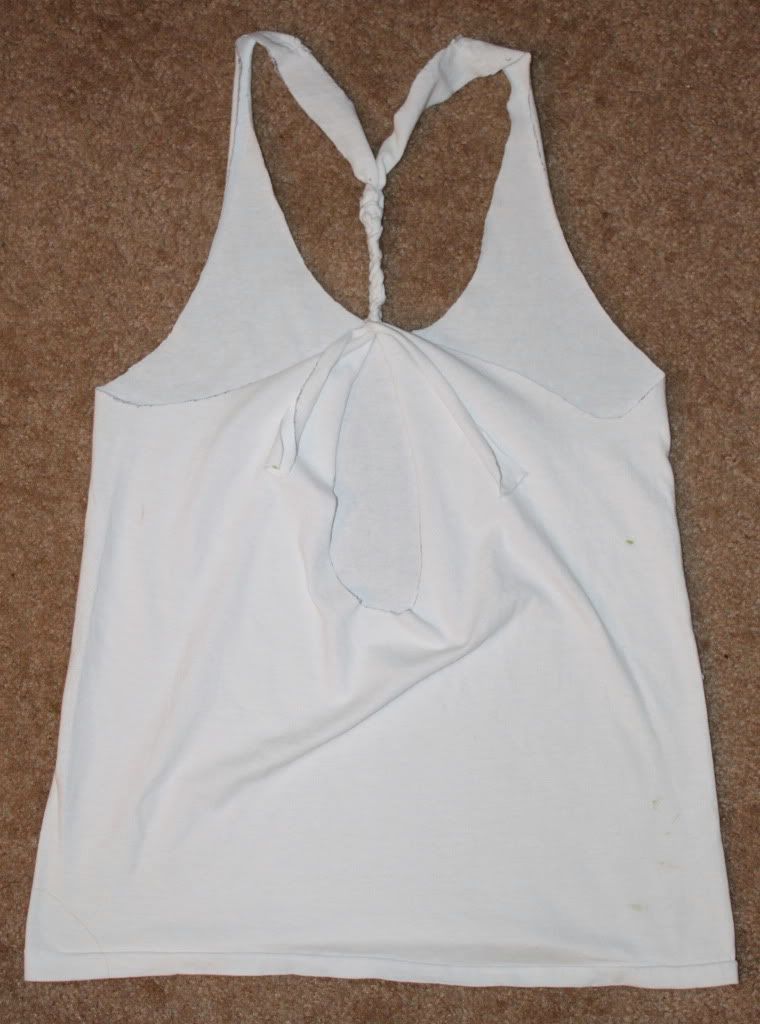
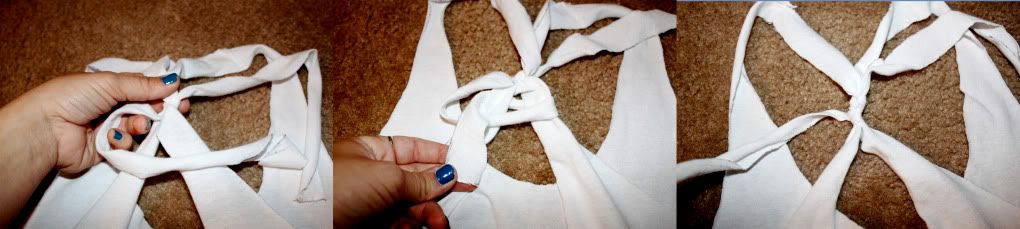
start by making a C-shape and crossing one strap over the middle two. loop it around and feed up through the hole my fingers are shown in the first picture. pull through and tighten. repeat with the other strap. switch back and forth until you have about 4 to 5 inches done.
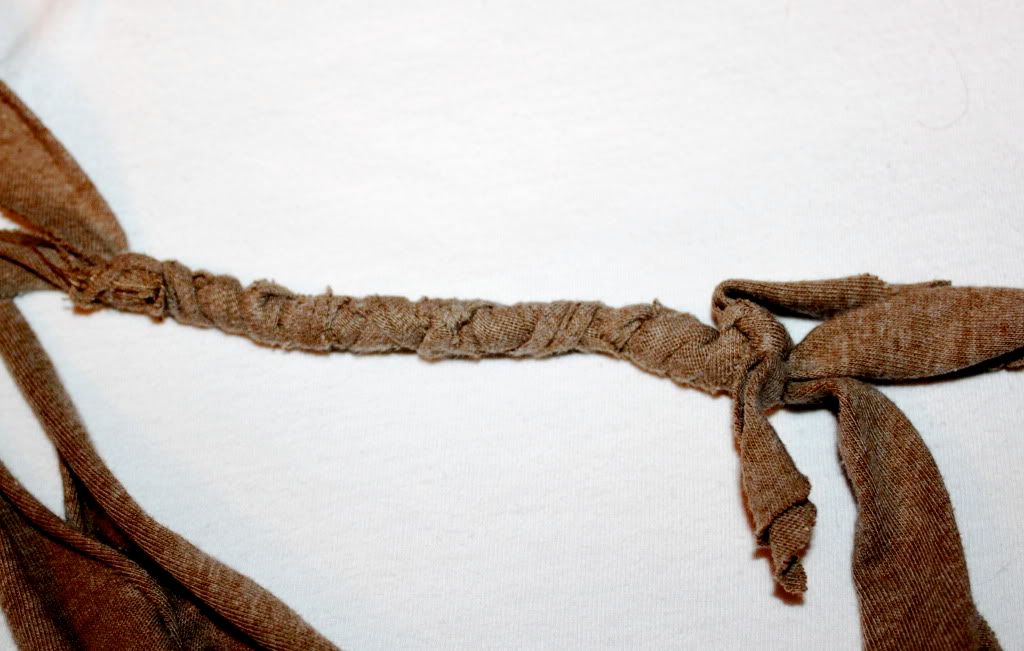
you can also hold the two straps together and braid the tree pieces. knot it at the end with the two strings.

this is another shirt i have done. for this look, i twisted the straps.
ta da! you are finished!